Introduction
We’ve all been there—overslept, running late, and zero time to style our hair. That’s where the messy bun saves the day! This effortless yet chic hairstyle works for any hair type, length, or occasion. Whether you’re heading to work, school, or a casual outing, this 5-minute messy bun tutorial will become your go-to look.
Plus, unlike those “perfect” buns you see on Pinterest, this version embraces natural texture and volume, so you don’t need professional skills. Let’s dive in!
What You’ll Need
Before we start, gather these basic tools (most are already in your drawer!):
✔ Hair tie (preferably a scrunchie for extra grip)
✔ 2-3 bobby pins (for securing loose pieces)
✔ Texturizing spray or dry shampoo (adds grip if hair is too silky)
✔ Light-hold hairspray (optional, for extra staying power)
Pro Tip: If your hair is freshly washed, add a little dry shampoo at the roots for better hold.
Step-by-Step Tutorial
Step 1: Prep Your Hair
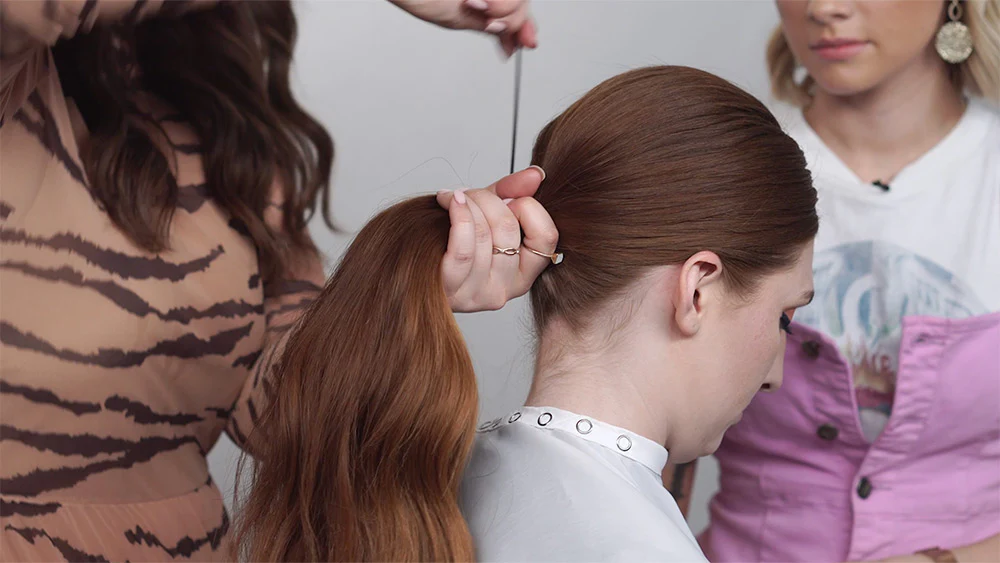
- Flip your head upside down and gather all your hair into a high ponytail at the crown of your head.
- For a fuller look, lightly tease the roots with a comb before tying.
- Avoid brushing too neatly—the messier, the better!
Step 2: Create the Bun
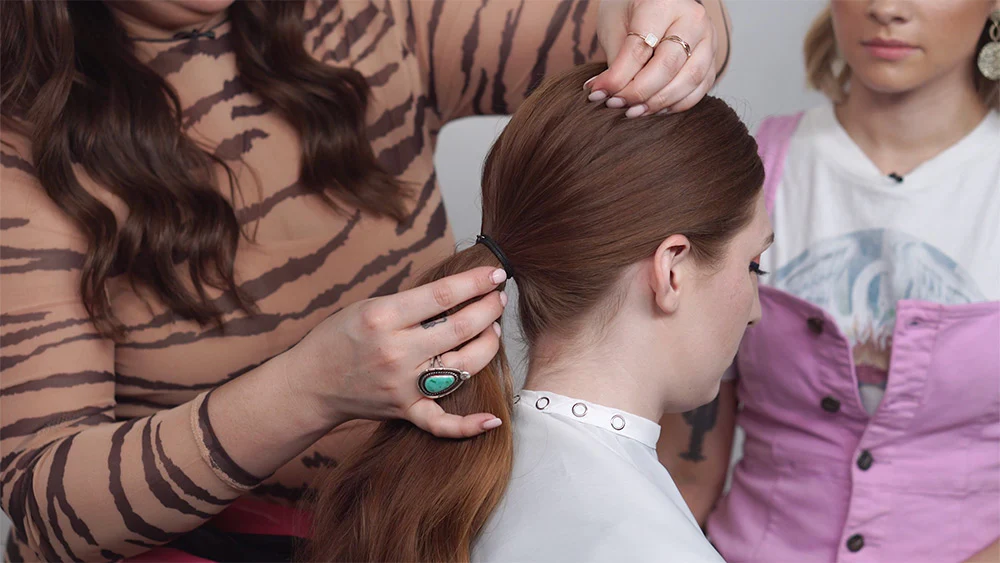
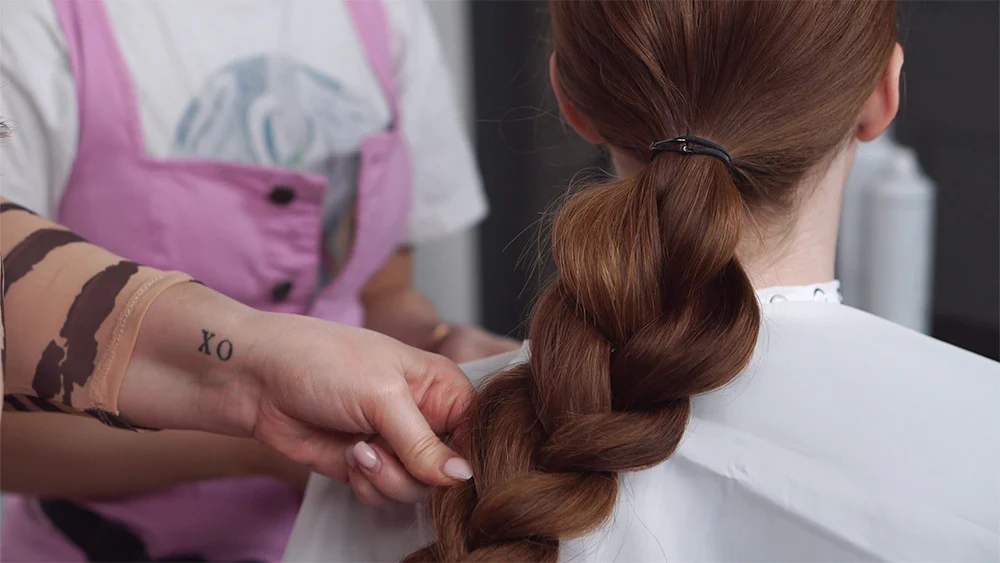
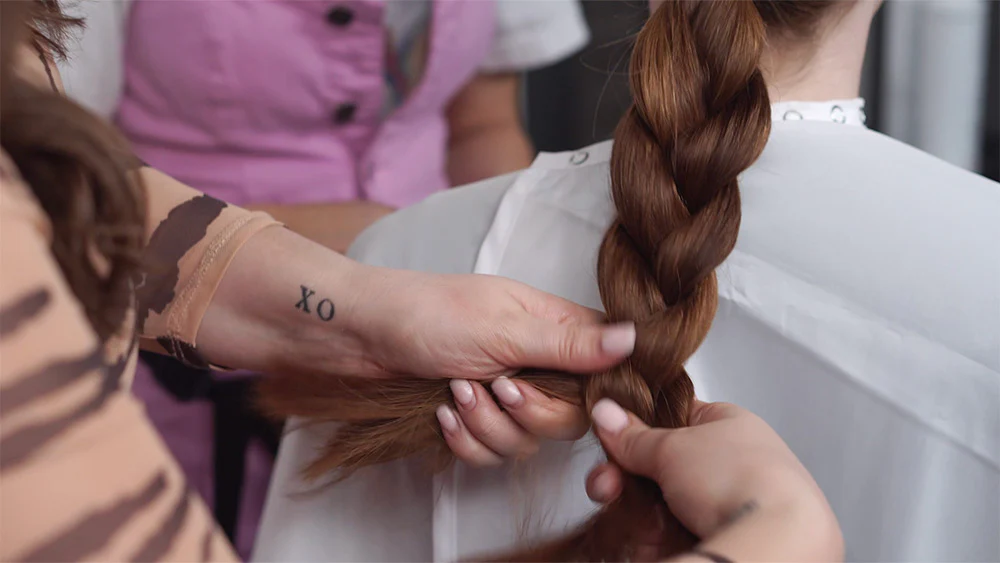
- Twist the ponytail loosely (don’t coil too tight, or it’ll look stiff).
- Wrap it around the base of the ponytail, letting pieces fall naturally.
- Secure with bobby pins in an “X” shape for maximum hold.
Step 3: Pull & Perfect the Messy Look
- Gently tug a few face-framing strands for a soft, undone effect.
- Loosen the bun slightly by pulling the sides—this adds volume.
- Spritz with texturizing spray for extra texture.
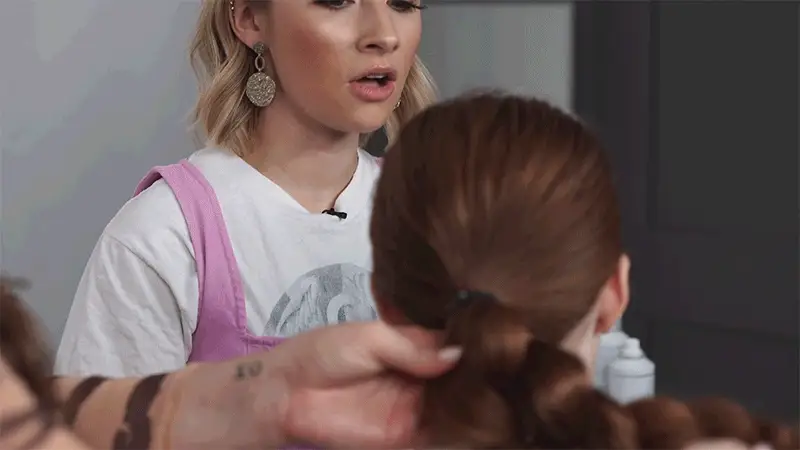
Step 4: Lock It in Place (Optional)
- If you need all-day hold, lightly mist with flexible-hold hairspray.
- For second-day hair, a touch of dry shampoo keeps it fresh.
Pro Hack: If your hair is slippery or fine, try a second hair tie wrapped around the bun for extra security.

4 Messy Bun Variations to Try
1. The “No-Tie” Messy Bun (For Short Hair)
- Twist sections and pin randomly for an effortless, boho look.
2. The Braided Messy Bun (For Extra Detail)
- Braid a small section before wrapping it into the bun for a trendy twist.
3. The Low Messy Bun (For Work & Weddings)
- Position at the nape for an elegant yet relaxed vibe.
4. The Half-Up Messy Bun (For Thin Hair)
- Only tie the top section to add volume without losing length.
FAQs
Q: Why does my messy bun look flat?
A: Try teasing the crown before tying, or use a donut bun maker for instant volume.
Q: How do I keep my messy bun from falling apart?
A: Bobby pins are key! Insert them in a crisscross pattern for a stronger hold.
Q: Can I do a messy bun on wet hair?
A: Not ideal—it won’t hold well. Opt for damp hair with mousse instead.
Final Tips & Tricks
- For curly hair: Use a wide-tooth comb to gather hair—don’t brush out curls!
- For thick hair: Split the ponytail into two twists before wrapping.
- For fine hair: A texturizing powder adds grip and fullness.
Now you’re ready to rock a messy bun anytime, anywhere—no more bad hair days! Save this guide, and tag us in your selfies! 📸
